Log In
Client Login
Spanish Sands Wetwall Panel
Pro Designs

Spanish Sands

W7014

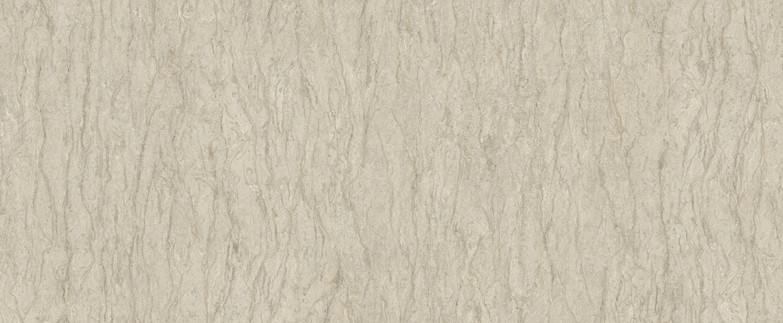
Warm, sandy tones inspired by Mediterranean landscapes. A versatile neutral that pairs beautifully with any bathroom palette.

Starting at $459 / panel (36”×72”)
Build a Shower Kit

Available Sizes

Standard panel sizes for shower and bath wall installations. All panels are 3/8" thick solid-core composite with your choice of edge profile.

Panel Size Height Typical Use Edge Options Price
36" x 72" 72" Wing Wall Bullnose/Flat or Flat/Flat $459
48" x 72" 72" Wing Wall Bullnose/Flat or Flat/Flat $612
36" x 96" 96" Wing/Back Wall Multiple options $612
48" x 96" 96" Wing/Back Wall Multiple options $815
60" x 96" 96" Back Wall Tongue/Flat or Flat/Flat $1,019
36" x 72" Wing Wall
Height: 72" • Edges: Bullnose/Flat or Flat/Flat
48" x 72" Wing Wall
Height: 72" • Edges: Bullnose/Flat or Flat/Flat
36" x 96" Wing/Back Wall
Height: 96" • Edges: Multiple options
48" x 96" Wing/Back Wall
Height: 96" • Edges: Multiple options
60" x 96" Back Wall
Height: 96" • Edges: Tongue/Flat or Flat/Flat

Need a non-standard size? Additional widths (8", 30") and custom cuts are available. Request a Custom Quote

Build a Complete Shower Kit with Spanish Sands

Select your walls, choose edge profiles, add niches and accessories — get one quote for everything you need.

Start Your Kit

Recommended Accessories

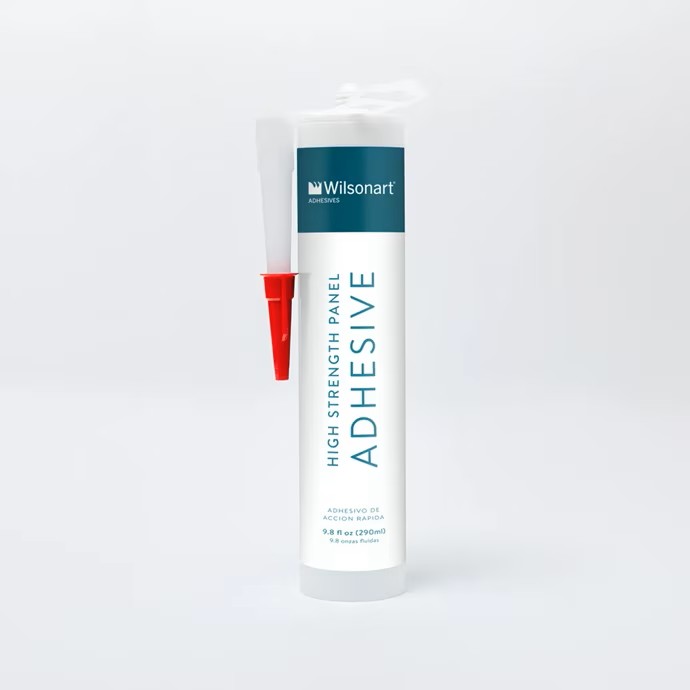
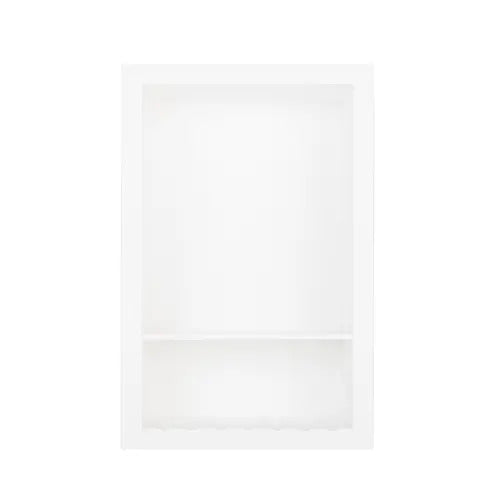
Everything you need for a complete, professional installation.

Color Matched Sealant
Color Matched Panel Sealant
WW-SEALANT
Request a Sample
Panel Adhesive
High Strength Panel Adhesive
WW-PANELADHESIVE
Single Niche
Single Niche — Designer White
NICHE1DESWHT
Double Niche
Double Niche — Designer White
NICHE2DESWHT
Corner Shelf
Corner Shelf — Designer White
CORSHELF1DESWHT
Schluter Jolly Trim
Multiple finishes available
View Trim Options

How to Measure Your Shower

Get accurate measurements so we can quote the right panels for your space.

  1. Measure the width of each wall at the TOP of the shower opening (walls may bow or lean — the top measurement ensures full coverage).
  2. Measure the height from the shower base or tub rim to your desired panel height. Standard is 72" (tub/shower combo) or 96" (floor-to-ceiling).
  3. Note your layout: 2-wall corner, 3-wall alcove, or custom configuration. Count how many panels you need.
  4. Identify edge types for each panel — which edges are exposed (need bullnose) vs. which meet another panel (tongue/groove) or a wall (flat).

Not sure? No problem. We offer free in-home measurements in the Clayton, NC area.

Edge Type Reference

Bullnose (Finished Edge)
Smooth, rounded edge for exposed/visible panel sides. Used at the entry of a shower where you can see the panel edge.
Flat Edge
Straight-cut edge that sits flush against a wall or is covered by trim. The most common edge for back walls.
Tongue Edge
A protruding lip that inserts into a groove edge on the adjacent panel. Creates a waterproof, interlocking seam.
Groove Edge
A recessed channel that receives the tongue edge from the adjacent panel. Together they form a watertight joint.

Installation Guide

Wetwall panels install in hours, not days. Follow these steps for a watertight, professional result.

Before You Begin

  • Panels must acclimate in the room for 48 hours before installation.
  • Substrate must be clean, dry, and flat (moisture-resistant drywall, cement board, or existing tile).
  • Remove all fixtures, fittings, and old caulk from the installation area.

Step-by-Step Installation

  1. Measure & Plan — Measure each wall. Order panels with 1/4" clearance on each side. Identify which walls need bullnose (exposed) vs. flat (against wall) vs. tongue/groove (panel-to-panel) edges.
  2. Dry Fit — Place panels against walls WITHOUT adhesive to verify fit. Mark cutouts for fixtures, valves, and niches.
  3. Cut Panels — Use a fine-tooth jigsaw or circular saw with a laminate blade. Cut face-down to prevent chipping. For fixture holes, use a hole saw.
  4. Apply Adhesive — Apply panel adhesive in vertical beads 6-8 inches apart on the wall surface. Use approximately 1 tube per 20 sqft (Total sqft × 0.05 = tubes needed).
  5. Install Back Wall First — Press the back wall panel firmly into adhesive. Use painter’s tape or temporary bracing to hold while adhesive sets.
  6. Install Wing Walls — Slide tongue-and-groove joints together with wing wall panels. Press into adhesive. Ensure panels are plumb and level.
  7. Seal All Joints — Apply color-matched sealant to all inside corners, panel-to-panel joints, and where panels meet the shower base. Use a smooth, continuous bead. (Total sqft × 0.025 = sealant tubes needed)
  8. Install Trim — Apply inside corner trim, end cap trim, and any Schluter Jolly edge trim at panel terminations.
  9. Cure Time — Allow 24 hours for adhesive to fully cure before using the shower.

Tools Needed

  • Jigsaw or circular saw with laminate blade
  • Level and measuring tape
  • Caulk gun (for adhesive and sealant)
  • Hole saw for fixture cutouts
  • Painter’s tape for bracing

Ready to Get Started?

Request a quote for Spanish Sands panels — we'll come back with installed pricing for your space.

Request a Quote